VitoDeploy: The Self-Hosted Laravel Forge Alternative I Was Waiting For
Tired of paying for Laravel Forge and struggling with complex tools like Coolify? I was too. This is my in-depth review of VitoDeploy, the self-hosted server tool that finally ended my search.

My quest for the perfect deployment solution has been a long one. I craved the control and low cost of self-hosting, so I dove headfirst into the world of open-source PaaS solutions. I tried Coolify. I wrestled with Dokploy. While both are powerful projects, I consistently found myself hitting roadblocks, getting lost in configuration, and spending more time debugging the deployment tool than my own applications.
Frustrated, I gave in and opened my wallet for managed services like Laravel Forge and Ploi. They were fantastic, reliable, and a joy to use. But the convenience came at a cost. The monthly bills added up across multiple projects, and I still missed the feeling of having full ownership of my stack. I was stuck, believing I had to choose between open-source complexity and SaaS expense. Then I discovered VitoDeploy, and the entire picture changed. It offered the polished, “it just works” experience I was paying for, but on my own server. After deploying both a server-side rendered (SSR) Astro app and a Laravel application ( with Inertia.js ), I’m convinced it’s the answer I was looking for.
What Exactly is VitoDeploy?
Think of VitoDeploy as your own personal server control panel. It’s a self-hosted alternative to SaaS products like Laravel Forge or Ploi. You install VitoDeploy on a vps, and from there, it connects to and manages any number of your application servers via SSH.
It takes a fresh VPS and turns it into a high-performance host for your apps. It handles all the tedious sysadmin tasks:
- Installs and configures the necessary software stacks (NGINX, PHP, Node.js, MySQL, etc.).
- Creates isolated system users for each site.
- Manages NGINX to route domains to the correct application path.
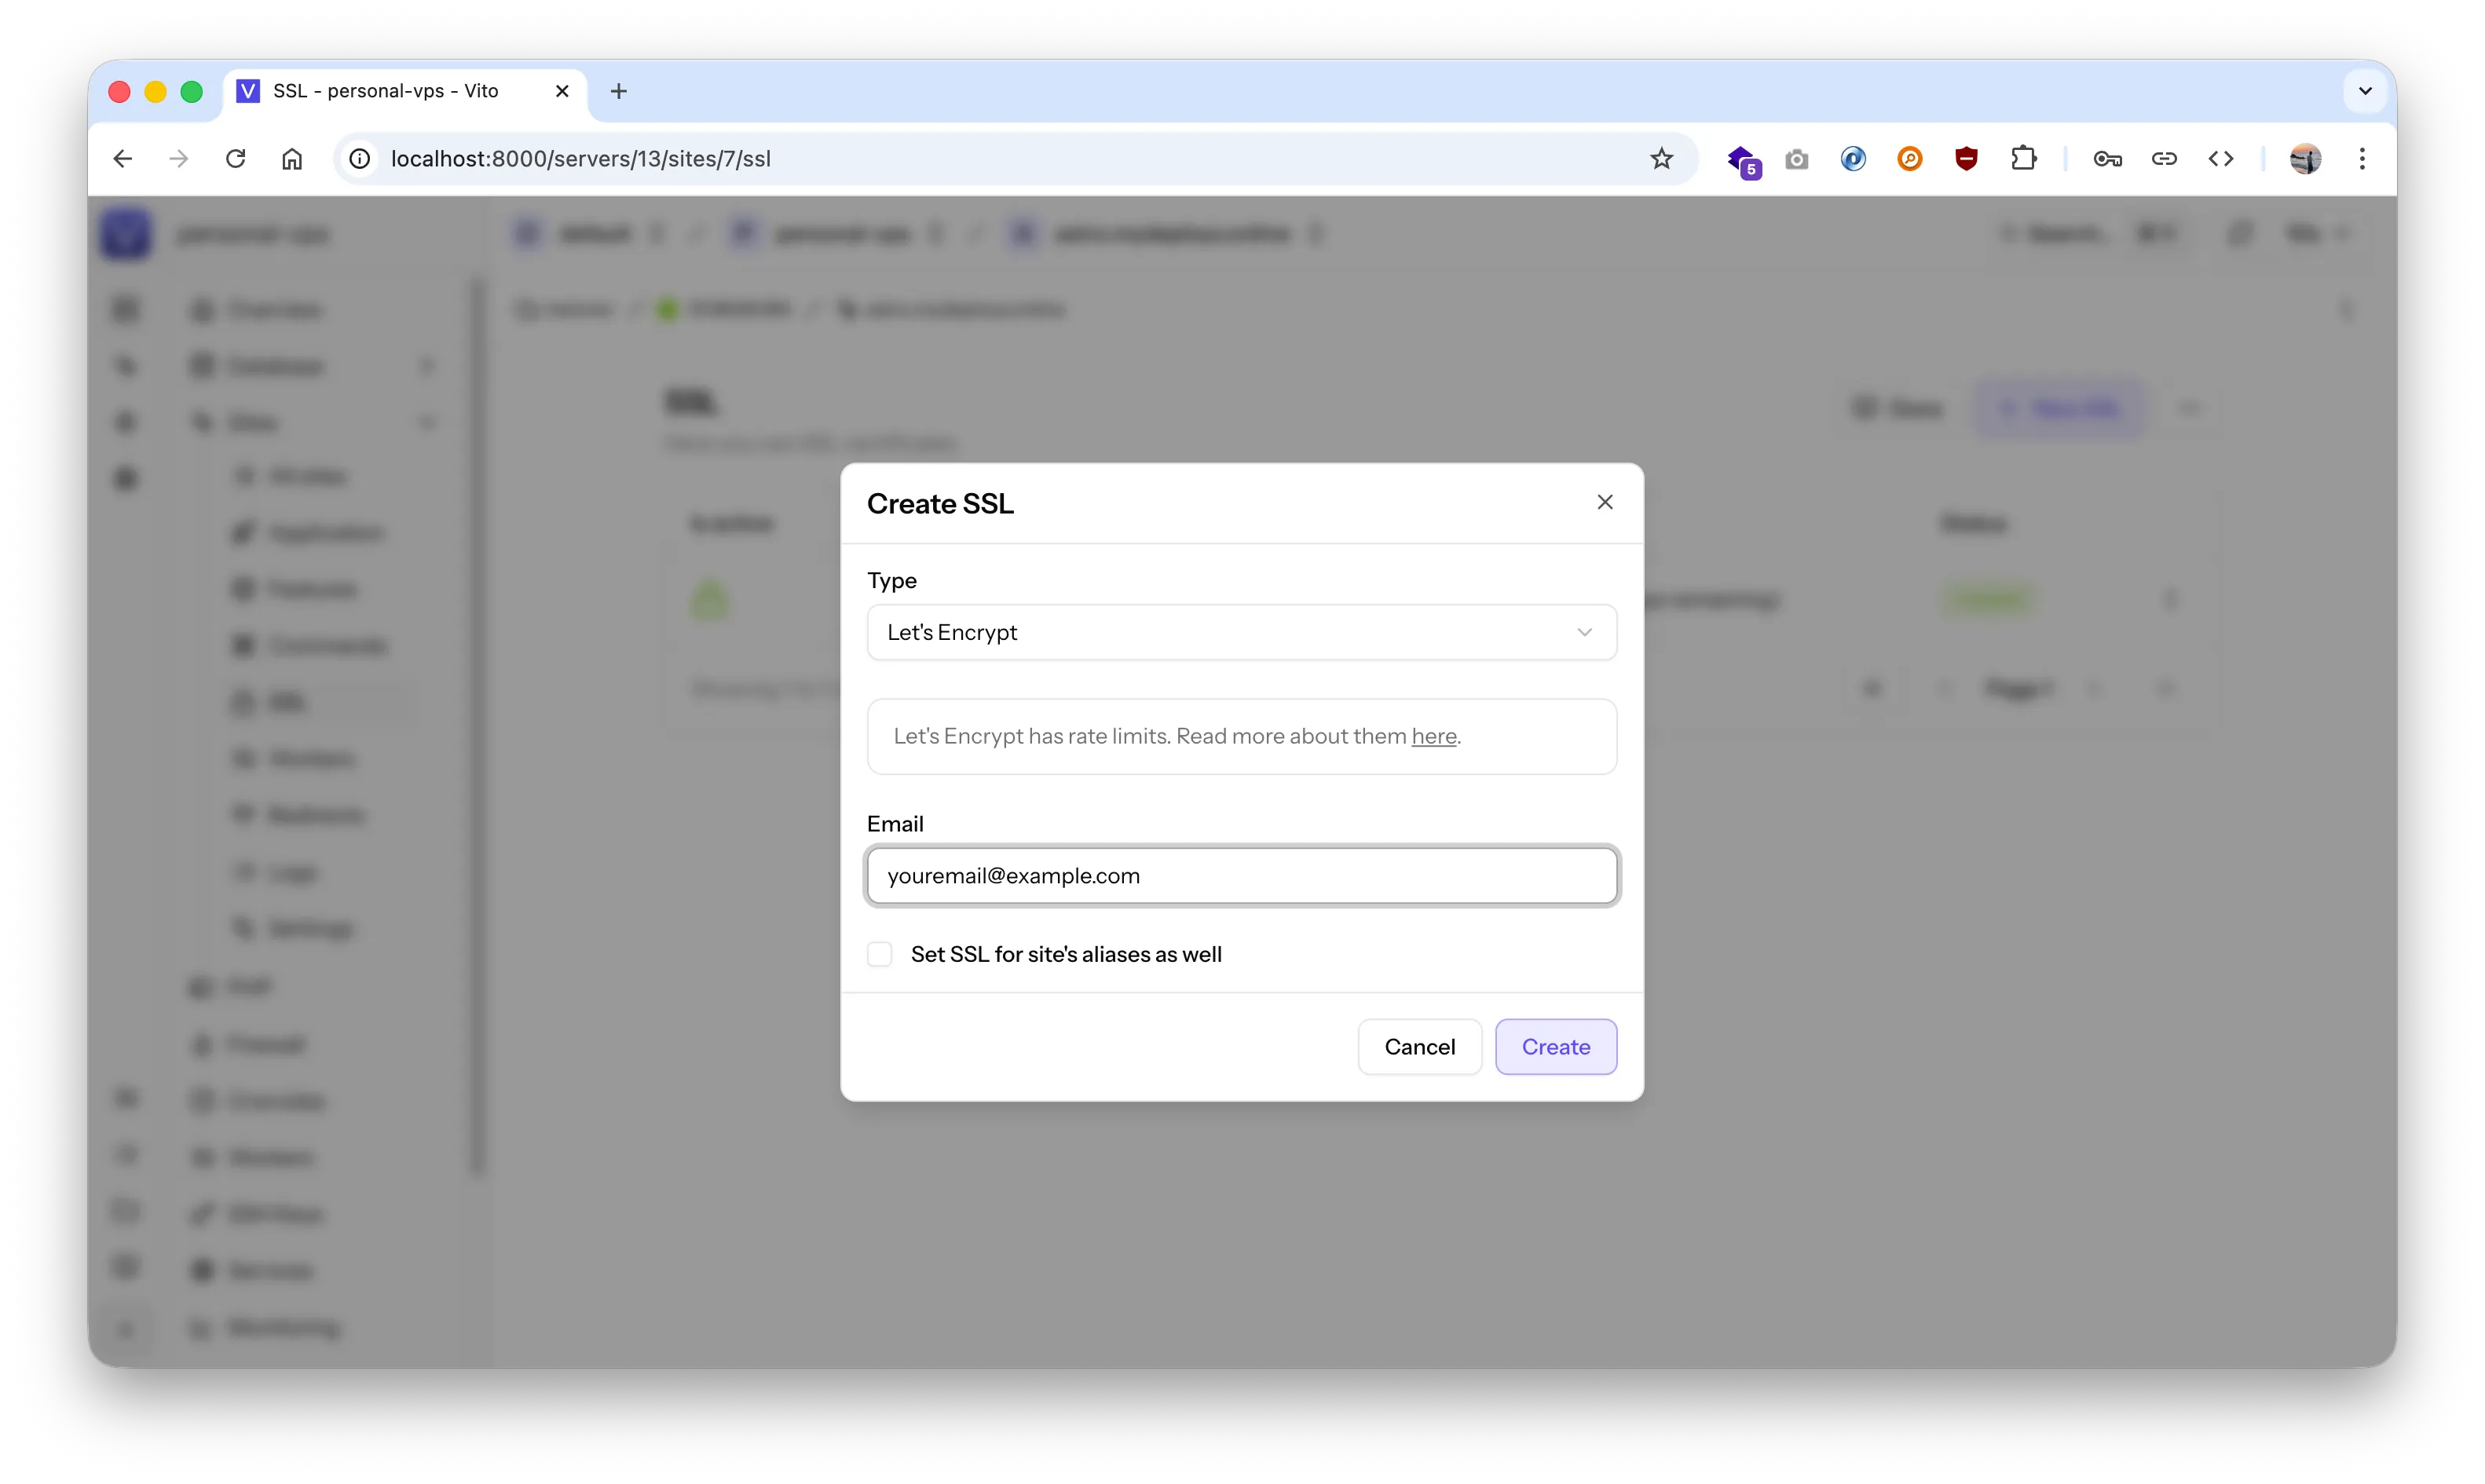
- Provisions and renews SSL certificates with Let’s Encrypt.
- Deploys your code directly from a Git repository.\
My Experience: Deploying Astro and Laravel
I first tried it with vps, and then decided to install it locally, It has Laravel sail ready, just follow the steps here
- Add A Service Provider:
First of all you need to add a Service Provider, Follow the docs to see how to add yours
For my case i was using Hetzner, i had to connect with Read/Write API Token.
-
Create A Server
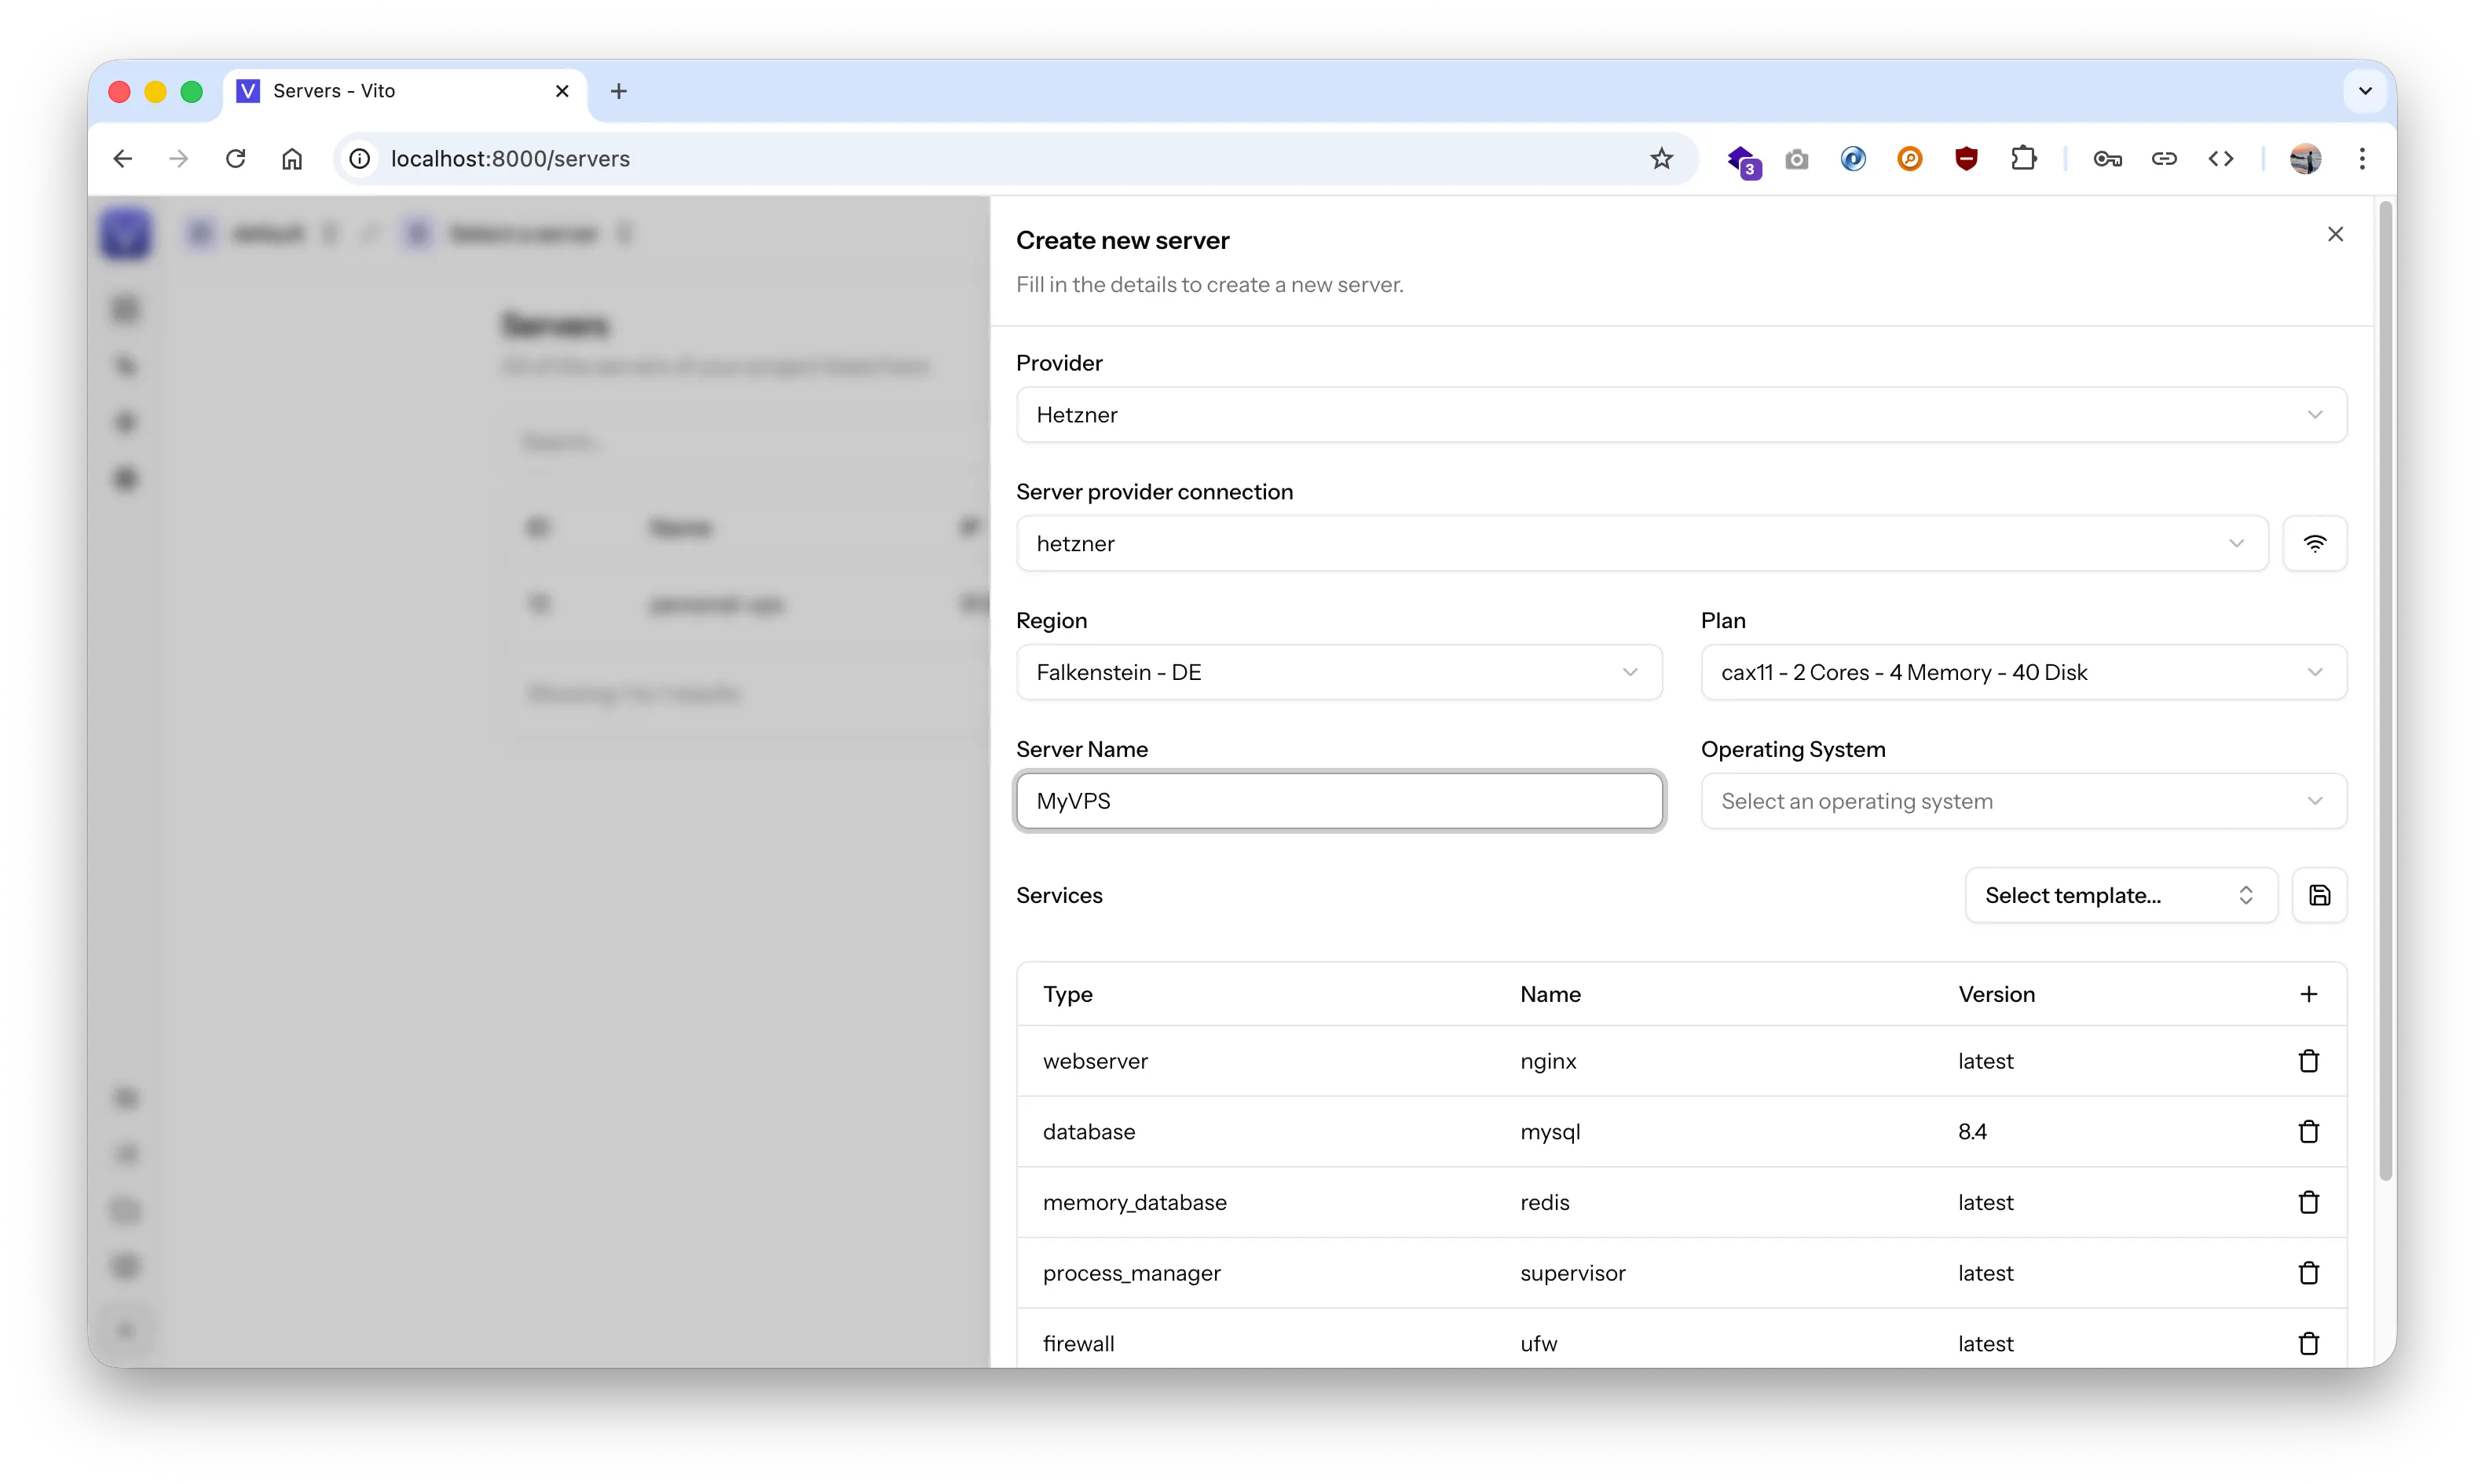 Select your service provider from the list and then create a server with the plan you need, cax11 was great value for me.
 -
Create site
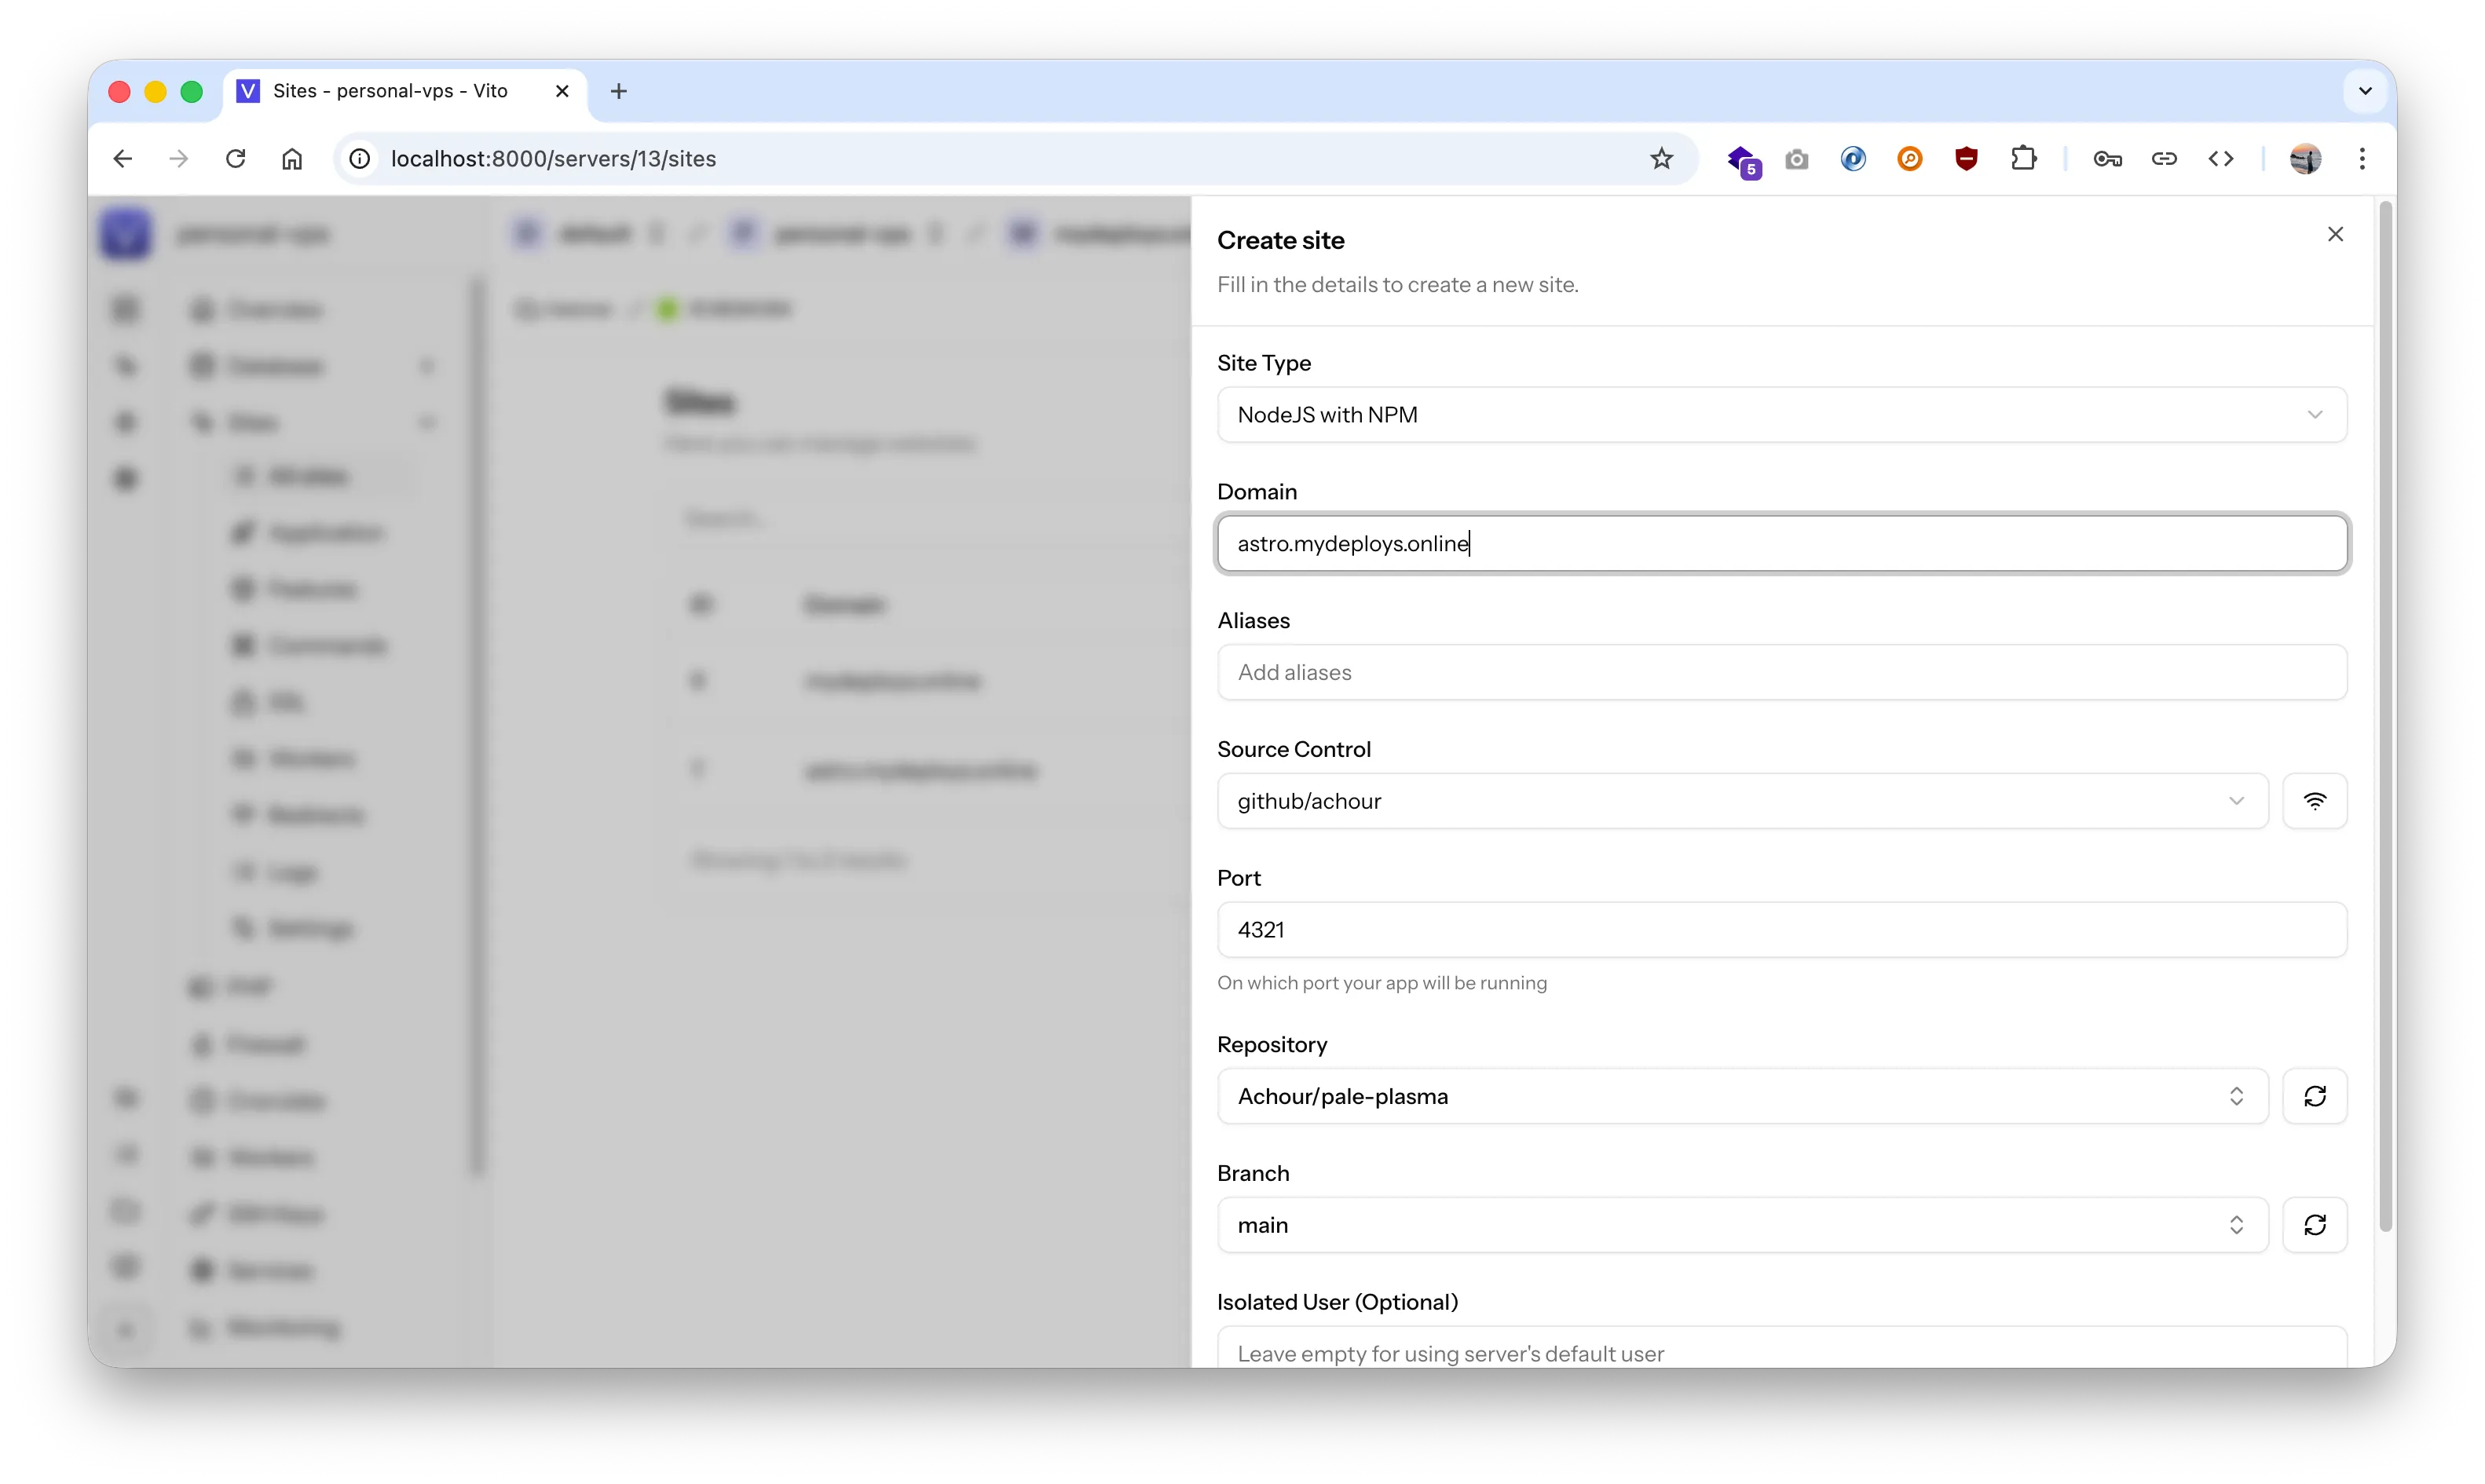
I will deploy an Astro.js app with @astrojs/node adapter because my app is need server side rendering:
export default defineConfig({
  adapter: node({
    mode: 'standalone',
  }),
  site: 'https://test.achour.dev',
  output: 'server',
  server: {
    host: true,
    open: true,
  },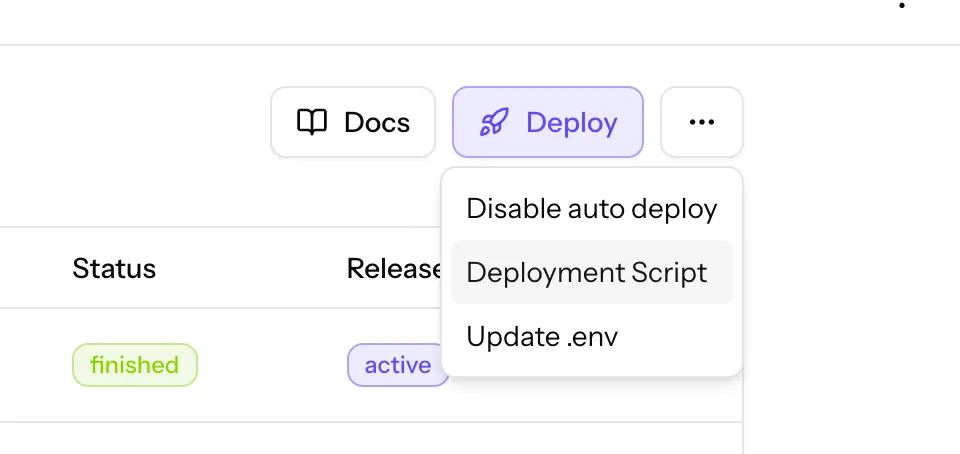
});- Add a deployement script:
cd $SITE_PATH
git pull origin $BRANCH
npm install
npm run build
sudo supervisorctl restart all
echo "✅ Deployment completed successfully!"-
Create a worker
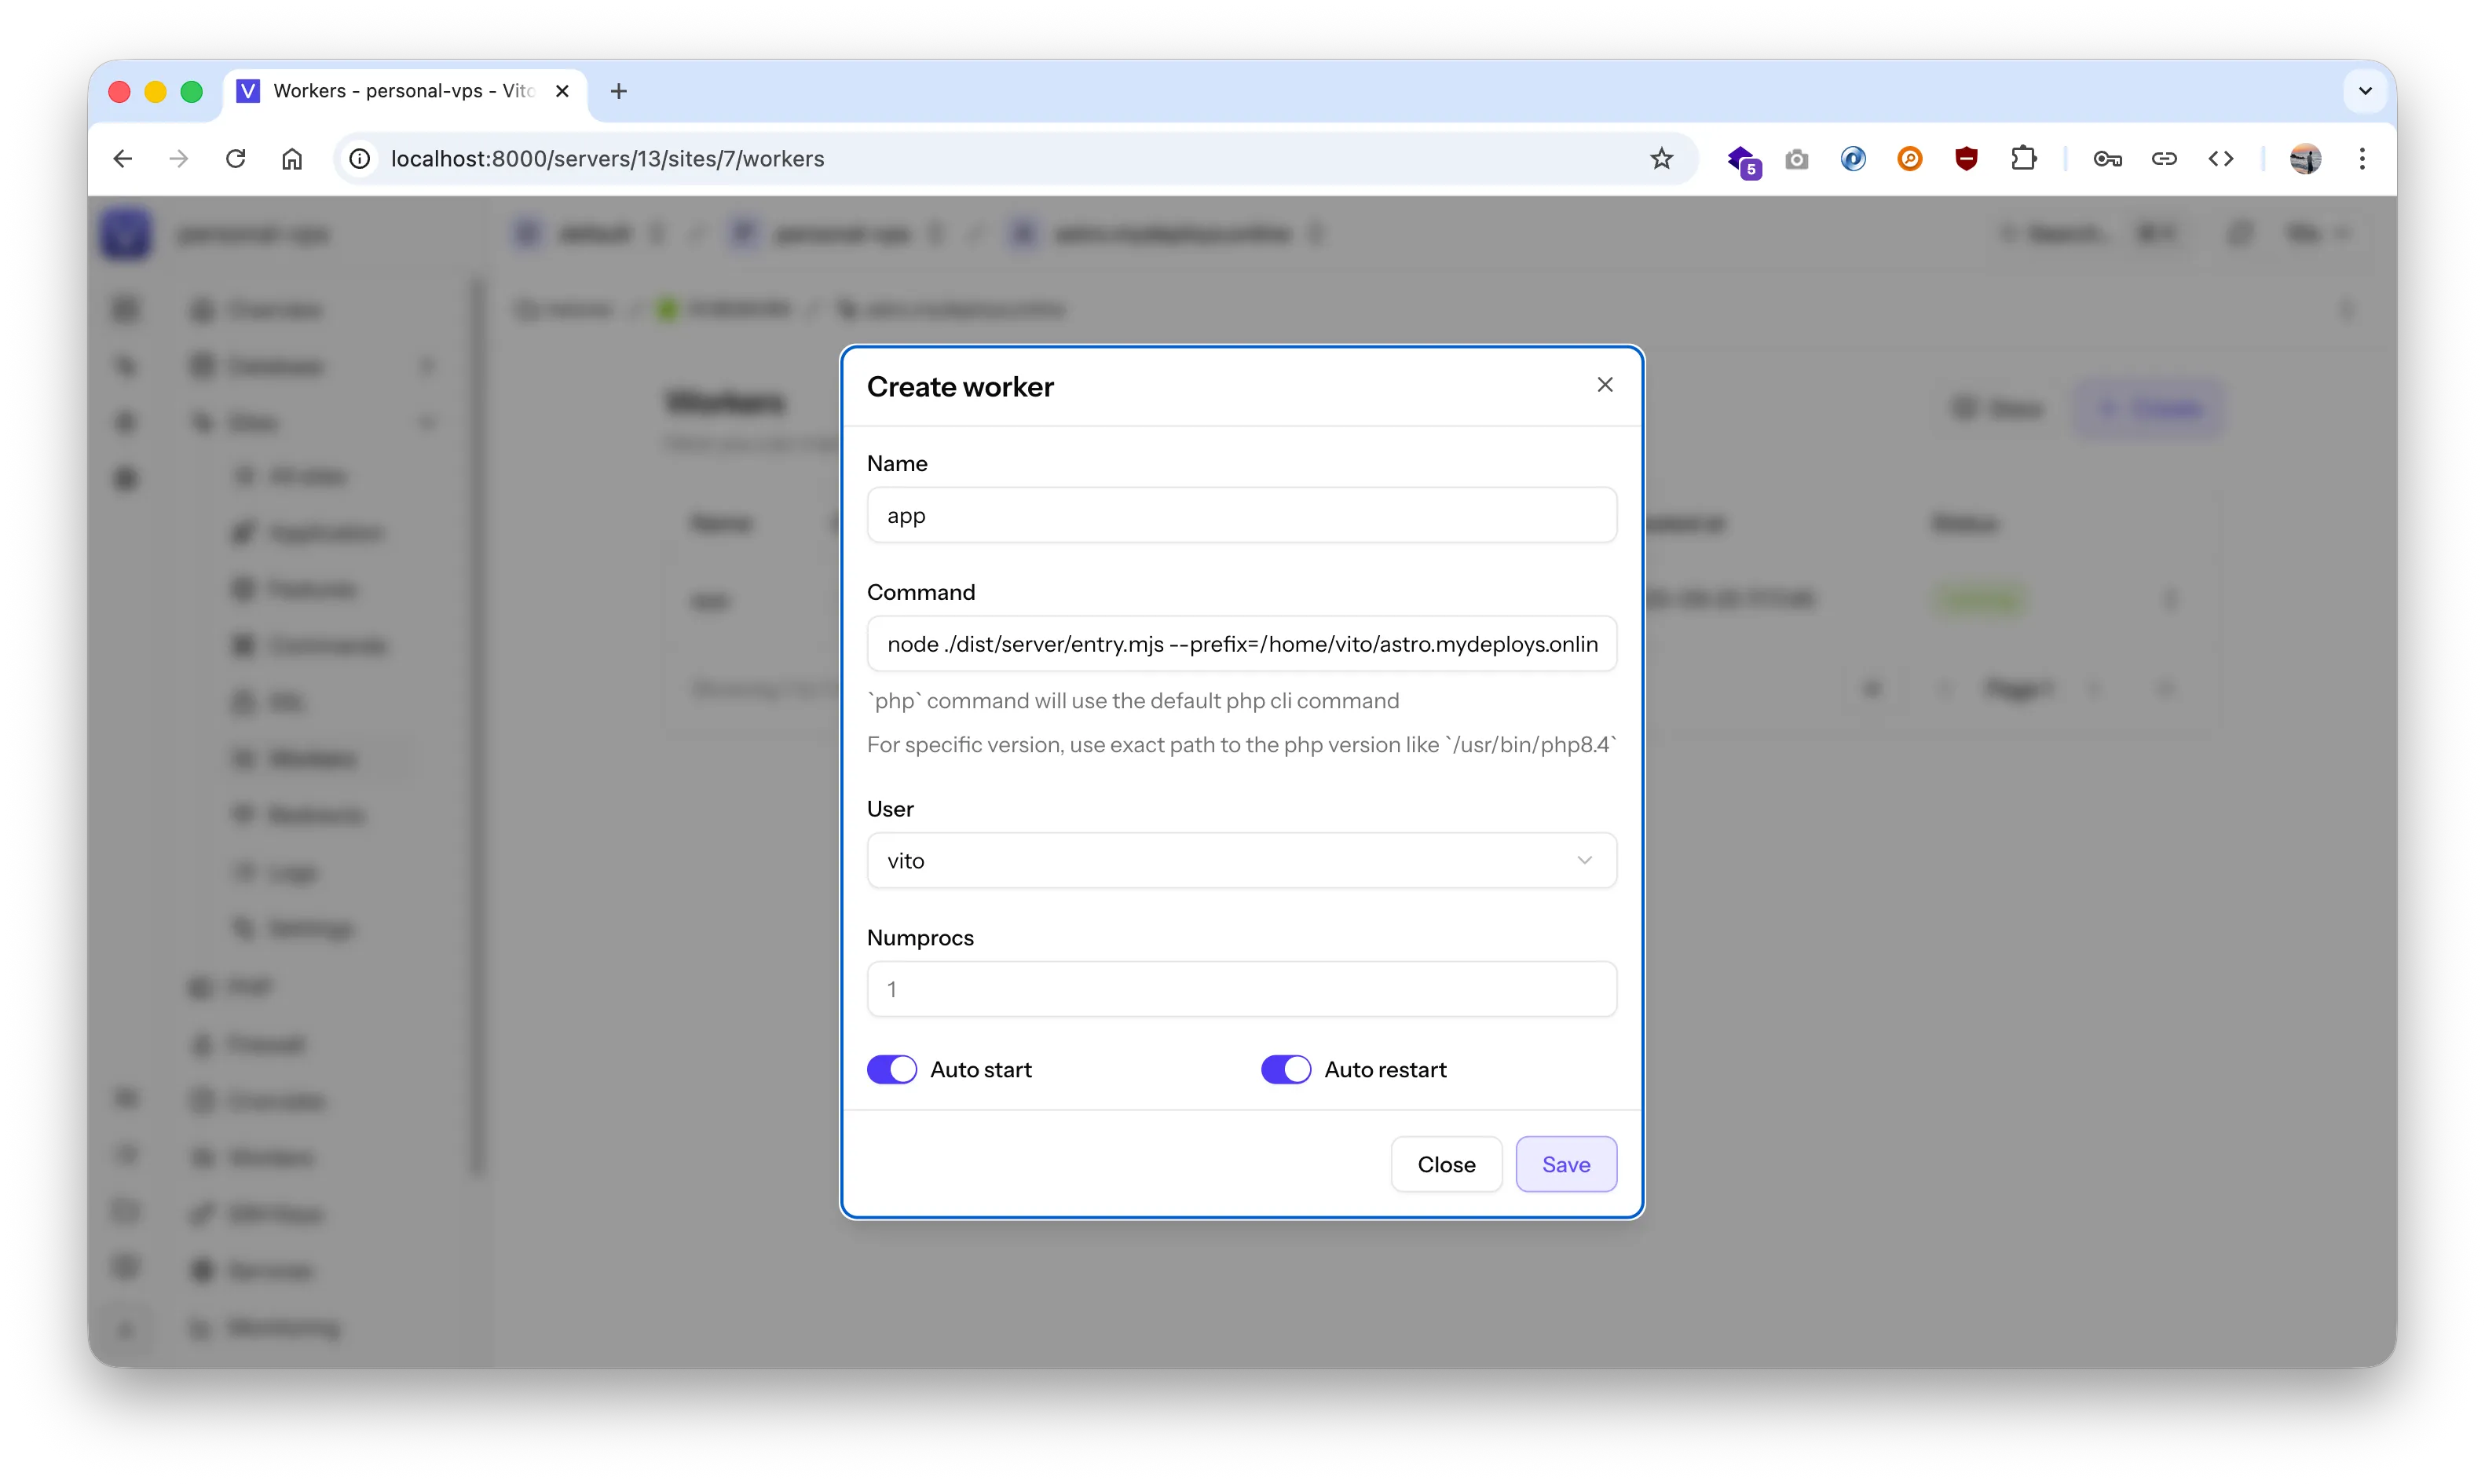
-
issue a Letsencrypt Certificate for your website ( don’t forget to point to your domain from your domain registrar. add A record with @ and your vps public IP address)
-
Click Deploy 🚀
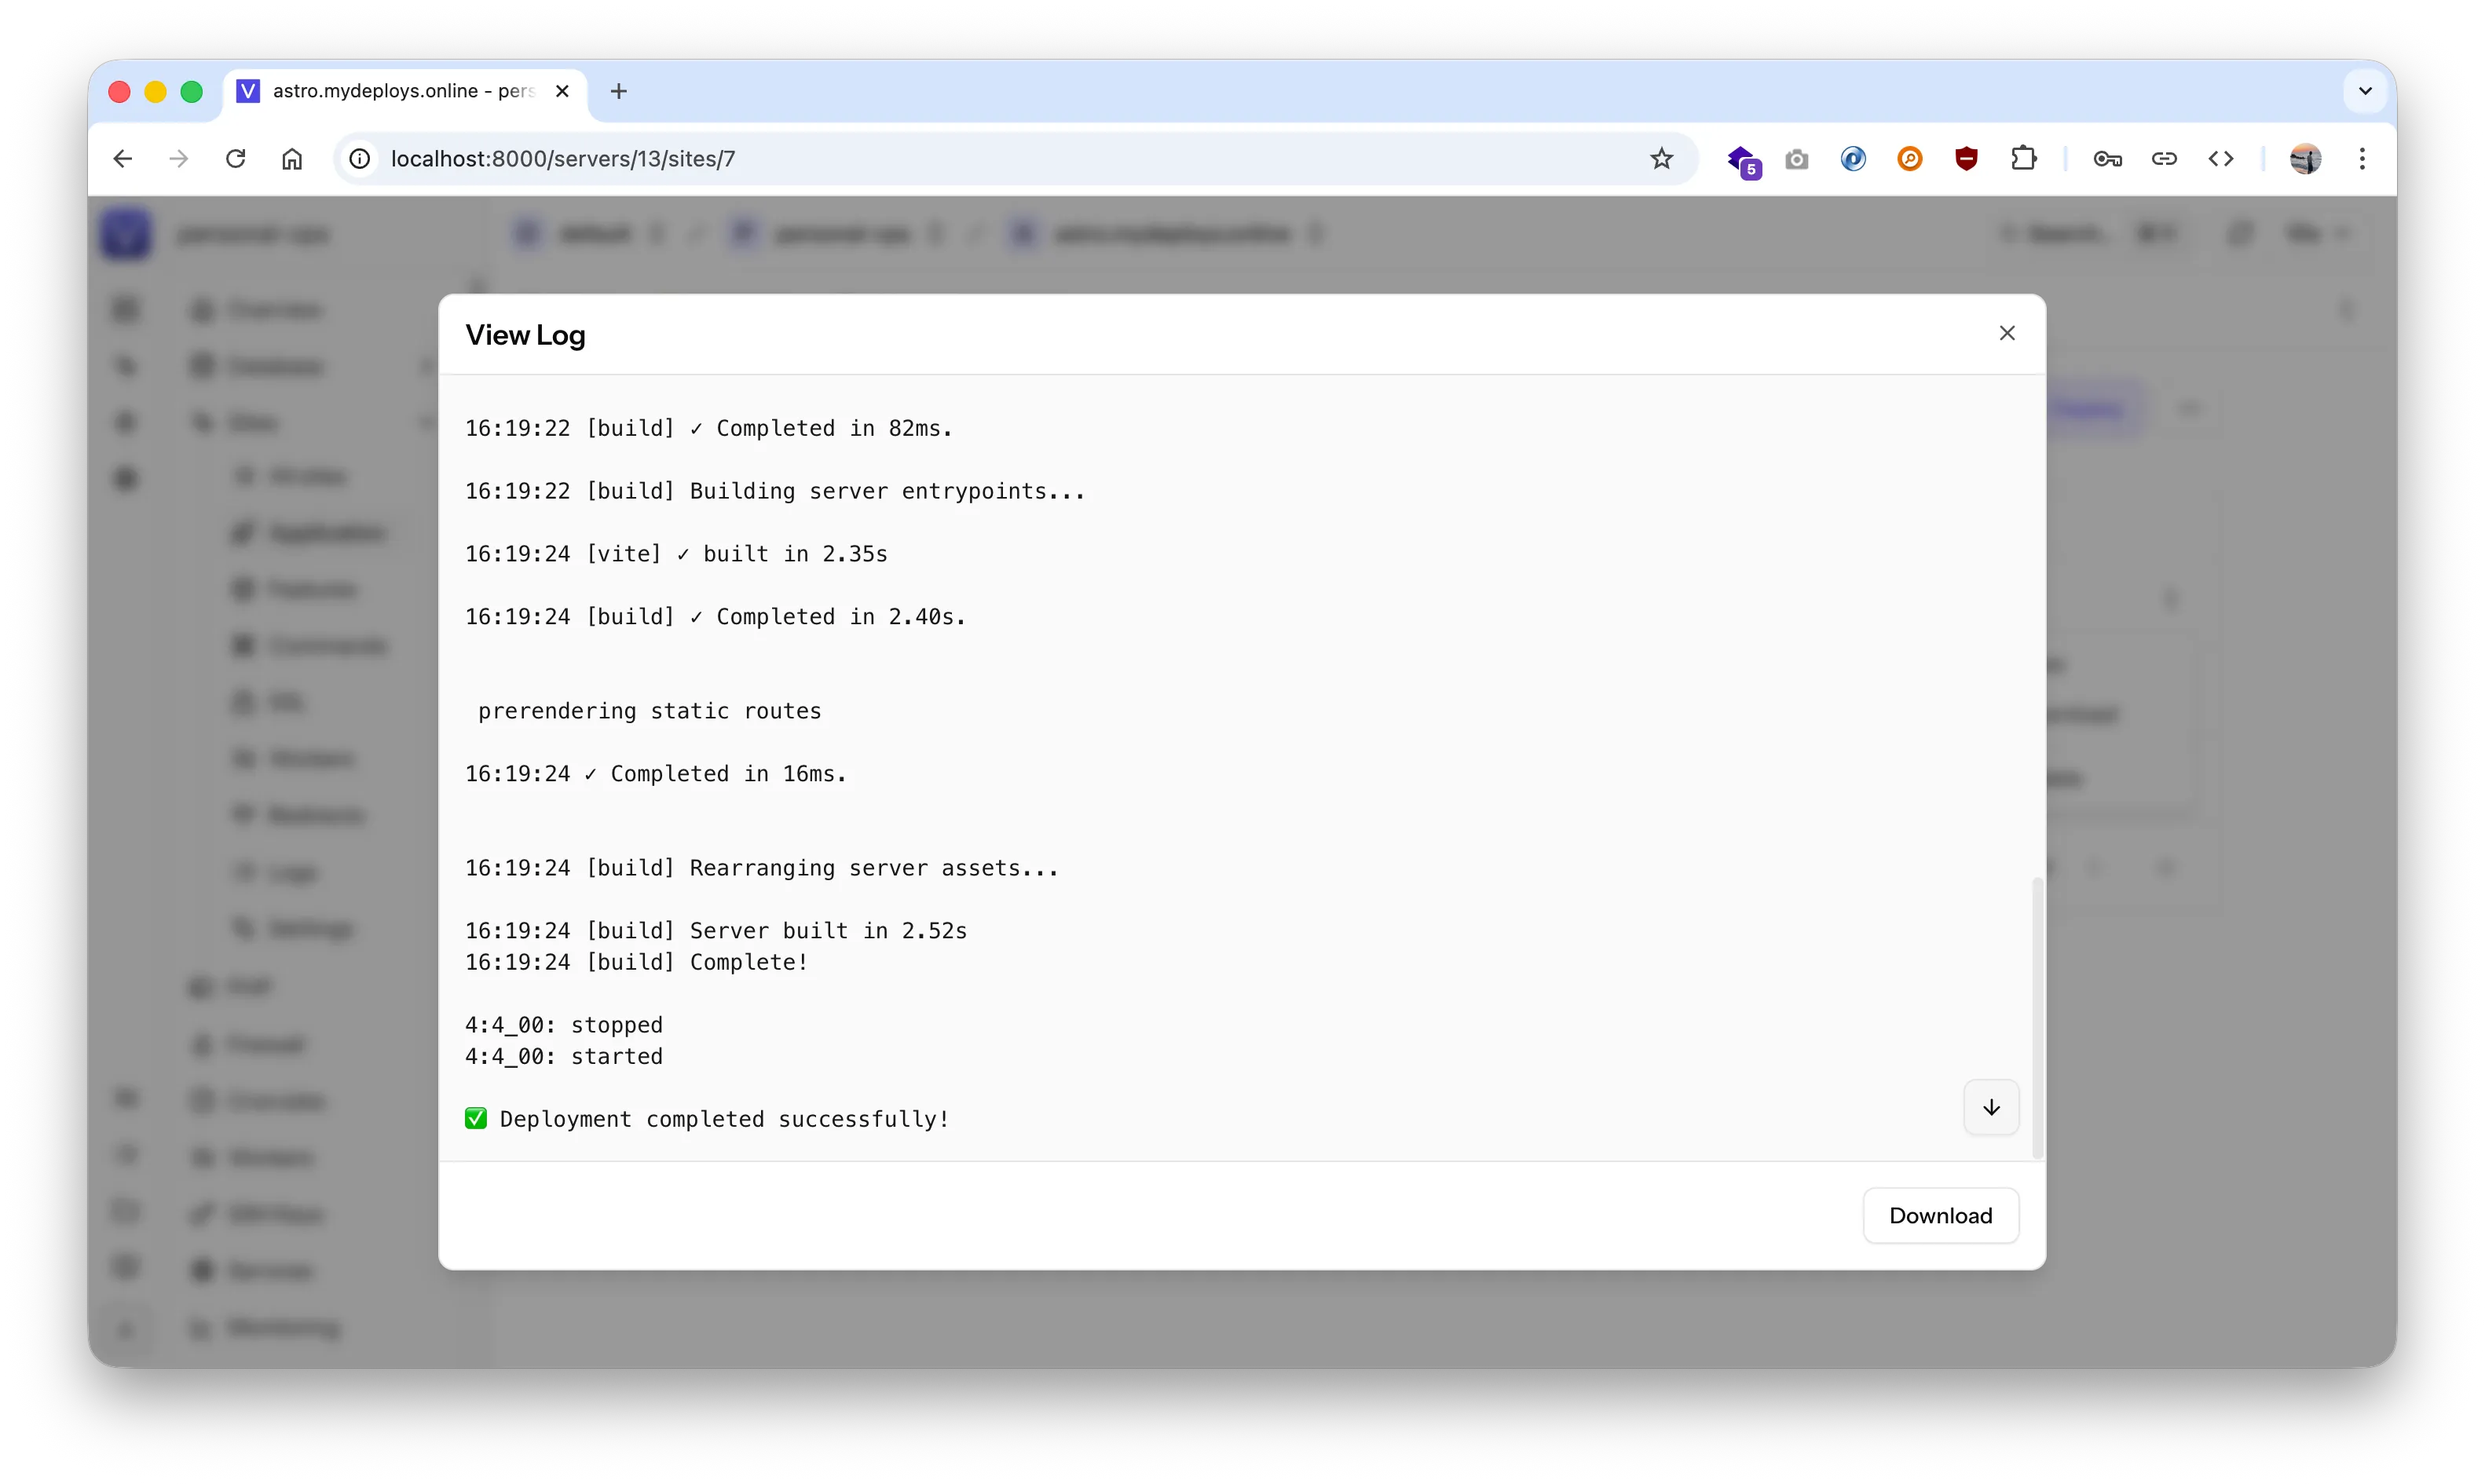
Here you can see my deployment completed successfully!
## Who is VitoDeploy For?
VitoDeploy is the perfect fit for:
- Users of Forge, Ploi, or RunCloud who want to cut costs and fully own their tools.
- Developers who prefer traditional server setups over container-based architectures.
- Freelancers and agencies who need to manage multiple client servers from a single, central dashboard.
- Anyone who thinks “I wish I could just host Forge myself.